Jupyter lab / notebook 上で、GUIで画像のフォーマット変換&リサイズを行うPythonコードです。たまに画像を扱う際、Jupyter lab / notebook の操作画面からできるだけ離れたくない場合などに使う想定です。
コード:
import ipywidgets as widgets
from IPython.display import display
from PIL import Image
import io
import os
from ipyfilechooser import FileChooser

def resize_image(file, output_format, scale_percent):
    img = Image.open(file)
    width, height = img.size
    new_width = int(width * scale_percent / 100)
    new_height = int(height * scale_percent / 100)
    resized_img = img.resize((new_width, new_height))
    output_buffer = io.BytesIO()
    resized_img.save(output_buffer, format=output_format)
    return output_buffer.getvalue(), new_width, new_height

def image_resize_app(file_content, output_format, scale_percent):
    try:
        image_data, new_width, new_height = resize_image(io.BytesIO(file_content), output_format, scale_percent)
        img_widget = widgets.Image(value=image_data, format=output_format, width=new_width, height=new_height)
        display(img_widget)

        # Save the resized image
        file_path = file_selector.selected
        file_name, file_ext = os.path.splitext(os.path.basename(file_path))
        output_file_name = f"{file_name}_new.{output_format}"
        with open(output_file_name, 'wb') as output_file:
            output_file.write(image_data)

        print(f"Resized image saved as: {output_file_name}")
    except Exception as e:
        print("Error occurred:", e)

file_selector = FileChooser()

output_format_selector = widgets.Dropdown(
    options=['png', 'jpg', 'bmp', 'gif'],
    value='png',
    description='Output Format:'
)

scale_percent_slider = widgets.IntSlider(
    value=100,
    min=1,
    max=100,
    step=1,
    description='Scale Percent:'
)

resize_button = widgets.Button(description="Resize & Save Image")

def on_resize_button_clicked(b):
    with output:
        output.clear_output()
        if file_selector.selected:
            file_path = file_selector.selected
            with open(file_path, 'rb') as file:
                file_content = file.read()
            output_format = output_format_selector.value
            scale_percent = scale_percent_slider.value
            image_resize_app(file_content, output_format, scale_percent)
        else:
            print("Please select an image file.")

resize_button.on_click(on_resize_button_clicked)

output = widgets.Output()

display(file_selector, output_format_selector, scale_percent_slider, resize_button, output)
結果:
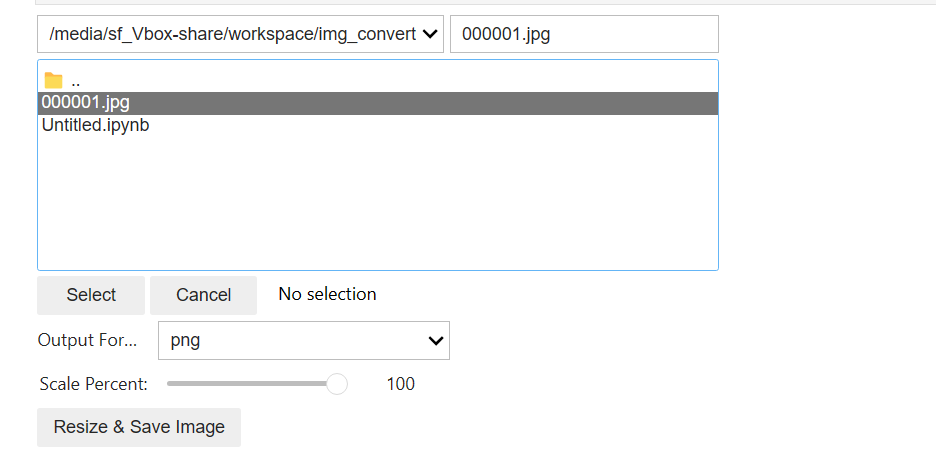
以下のように成功しました。サンプルとして犬の大きなjpg画像を、15%にリサイズしたgif画像に変換してます。
最初の表示
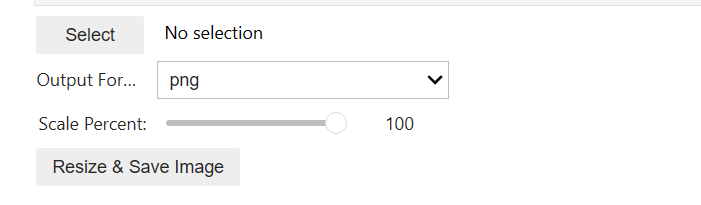
画像の選択
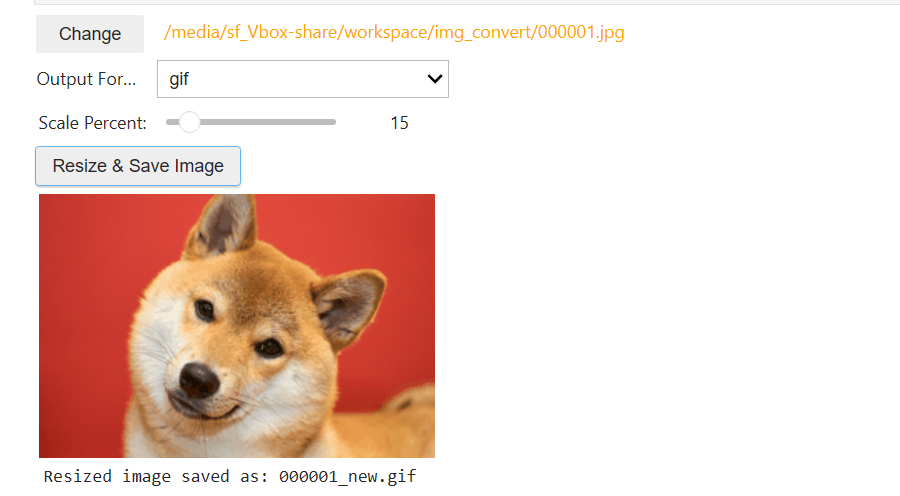
変換&リサイズ後